The most common way of certifying welds and welders is destructive testing. Perform a weld to specific parameters, clamp it into a hydraulic press, and apply stress until something gives way. If the weld survives past the required stress point before breaking, then it, the materials, the way it was performed, and the welder who performed the welding are considered fit for purpose, and all welds performed the exact same way are considered so as well. It is a point of pride for many welders if the metal surrounding the weld breaks before the weld.
This “what worked before, should work again” method isn’t enough for some high-specification welding. It suffices to create the weld parameter in the first place, but the final welds must pass some sort of additional inspection to ensure they meet requirements. Nondestructive weld testing is an additional step that further ensures that welds are satisfactory and that they remain satisfactory over time. Nondestructive weld testing methodologies can range from intense visual scrutiny to using radiation to look within the weld for defects.
Visual Weld Inspection Methods
Effectively every weld is visually inspected at some point. Welders worth their salt look a weld over to see if it seems suitable. However, additional formal visual inspections for higher-specification welding are used. They go well beyond just a final look-over of the weld and actually involve inspecting the materials and the prep work before welding even begins. A pipe welding visual inspection, for example, begins with an examination of:
- Material Cleanliness: Hydrogen, oxides, hydroxides, and other materials on a metal surface can interfere with proper weld formation and fusion. Therefore, prior to welding, the surfaces should be cleaned and inspected to ensure they meet the required standards.
- Material Prep: Thicker materials need to be cut and machined before welding. This process can create burs or fragments that can interfere with weld formation. These need to be visually checked for and removed before welding even begins.
- Material Fit-Up: It is crucial to ensure that materials are fitted correctly and that parts line up as desired before they are welded together.
- Equipment Check: Prior to welding, the equipment should be checked to be sure it is in good operating condition and that it is set up to comply with welding as described in the set weld parameters.
Assuming all these criteria are met and welding is performed without issue, then visual nondestructive weld testing can be performed. There are two types of visual nondestructive weld testing—a straight visual inspection and dye penetrant testing. A comparison of these two types of testing can be seen in the table below.
|
Dye Penetrant Testing |
Visual Inspection |
||
|
Steps |
Steps |
||
|
|
||
|
Pros |
Cons |
Pros |
Cons |
|
|
|
|
The main advantages of visual nondestructive testing are that they are quick, easy, and can be performed anywhere. Purely visual welding passes are actually performed between weld passes routinely. The disadvantage is that they can only identify surface-level flaws. These methods cannot detect a lack of fusion or porosity deeper into the weld. These can only be found through other forms of nondestructive weld testing.
Nondestructive Weld Testing In-Depth
Nondestructive weld testing beyond the visual all share the common trait of using some sort of energy wave to look beyond what’s visual at the surface of a weld. A few different types of nondestructive weld testing are in common use. Each with its own strengths and weaknesses. These techniques are:
- Magnetic Particle Testing (MPT): Magnetic Particle Testing induces a magnetic field in the workpiece. Any discontinuities in the surface, like a crack, crater, or pinhole, will disrupt the magnetic field in a way that an external sensor can detect. This has the advantage in that it can pick up very tiny discontinuities that are too small to pick up dye. The disadvantage is that it is confined to the surface and near the surface of the weld. Although, this disadvantage may not be a factor in very thin wall materials like those used in autogenous welding.
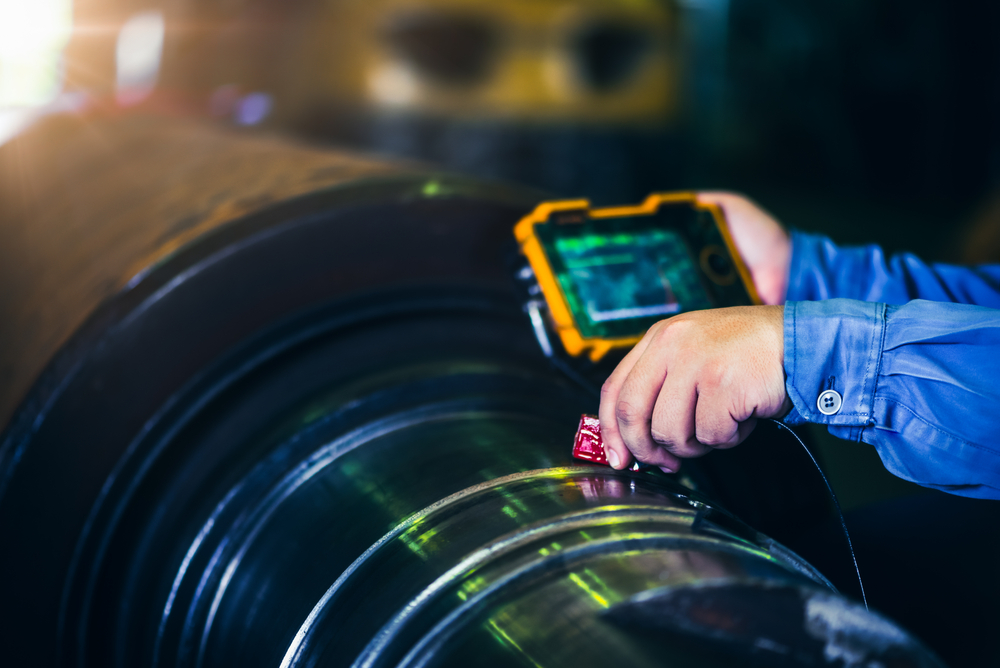
- Ultrasonic Weld Testing (UT): Ultrasonic weld testing uses high-frequency sound waves to penetrate deep within a surface and develops a visual image of the shape of the material, including any discontinuities within the weld or even on the backside of a closed-off material that cannot be seen visually, like the interior of a pipe. The disadvantages of the process are that 1) It takes a lot of training to be able to effectively scan a material and be able to interpret the results, and 2) That complex geometries can cause interference that reduces accuracy.
- Eddy Current Weld Testing (EC): Eddy Current nondestructive weld testing also uses an induced magnetic field to check for very fine imperfections. The chief difference from a nondestructive weld testing standpoint is that eddy current detects much smaller flaws and defects. It shares MPT’s disadvantage of being limited to surface or near-surface imperfections. Although, once again, in thin-walled materials used for autogenous materials, this disadvantage may not apply.
- Radiographic (X-ray) Weld Testing: X-ray nondestructive weld testing has long been a standard in certifying GTAW welds. It can see the entire depth of all but the thickest materials and characterize them in great detail, picking up tiny tungsten inclusions and large areas where fusion was lacking. The disadvantages of the process include a lengthy setup time and difficulty deploying it in field environments. It is also a radioactive process with potential exposure risks to the operator if proper setup procedures are not observed or correctly carried out.
Nondestructive weld testing is vital to meeting the demands of very high-specification welding. They can detect flaws and weld defects that would otherwise be undetected and could potentially lead to catastrophic or critical failures in a diverse range of applications from the oil industry to aeronautics. However, while they allow for the reworking of flawed work, they cannot help to prevent those flaws and defects from occurring in the first place. Improved and reliable welding processes like orbital welding can help to prevent those flaws and defects.
The chief advantage of orbital welding vs. manual welding is that orbital welding is repeatable and reliably so. This means that nondestructive weld testing can be used when welding parameters are being developed to better refine these parameters and reduce the instances of common orbital welding flaws and defects. While nondestructive weld testing is and will remain a vital part of ensuring that high-specification welds are fit for purpose, using orbital can mean this testing certifies quality rather than detecting critical flaws and failures.
Arc Machines, Inc. is a leader in orbital welding in high-specification industries that require nondestructive weld testing and inspection for all welds. Contact us to learn more about how orbital welding can ensure your welds meet nondestructive weld testing standards. To learn more about our products, contact sales@arcmachines.com. For service inquiries, contact service@arcmachines.com. Arc Machines looks forward to providing the equipment and services your project needs.
