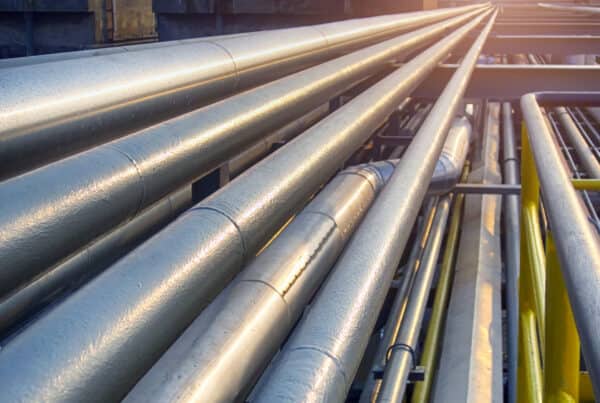
Every weld receives a visual inspection. It could be as simple as the welder looking at the weld and deciding that it’s fine. However, the term “welding visual inspection” generally refers to a formal qualification process designed to certify the weld and catch unsatisfactory welding. In pipe work, the finalized pipes will usually be channeling pressurized products that could blow through inadequate or compromised welds. Conducting a well-informed and qualified pipe welding visual inspection is especially important before process pipes are cleared for use.
A visual inspection of a pipe weld begins well before welding actually starts. It encompasses the choice of materials, joint preparation and fit-up, the welding process, and the final completed weld. While it’s impossible for a weld inspector to see inside the completed weld with their eyes alone, by performing visual inspections throughout the pipe welding process, it’s possible to minimize the number of weld rejections that occur during non-destructive testing (NDT) and improve welding productivity by keeping the need for rework to an absolute minimum.
Pre-Welding Visual Inspection
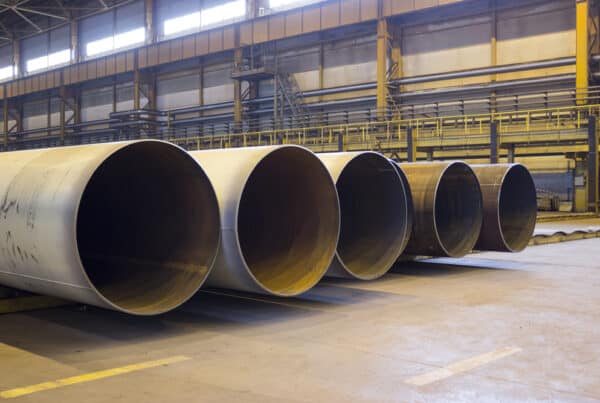
Regardless of the method of welding being used, pipe welding begins by thoroughly cleaning the pipe’s interior, end face, and exterior of contaminants like oil, zinc, or paint. Pipes with wall thicknesses greater than about three millimeters aren’t welded as-is but are cleaned and then machined to create a bevel, so that when two pipes are placed face to face the angle of the bevels create a groove opening out toward the exterior diameter of the pipe. After the bevel is machined it has to be cleaned again to get to remove machining oils from the work piece.
Inspection of the pipe at this point in the process is important since contaminants that remain on the surface can cause porosity in the weld, and any burrs that remain that can cause uneven melting, disrupt puddle flow, or snag the electrode and change the travel speed. Misalignment of the pipes during fit-up or incorrect spacing can change the basic properties of the joints. A pre-welding visual inspection should also ensure that the angle of the bevel and the spacing and fit-up between the pipes is correct. In most orbital welding operations there is no root gap, and pipe faces directly abut one another, and are tack welded into place. The quality of the tack welds, and the alignment of the pipe are what needs to be checked in these circumstances. Often with stainless steel and nickel alloys this automated welding requires an inert gas in the interior of the joint to prevent contamination of the weld. Any issue with spacings, the tack welds, or the backing gas can create weak contamination, porosity, or other welding defects.
Performing an In-Process Pipe Welding Visual Inspection
Pipe welding usually requires multiple passes to complete, which creates the opportunity to check in-progress welds for flaws. Flaws in partially finished welds are much easier to fix than in completed welds as much less material generally needs to be ground away in order to fix the flaw.
A pipe welding visual inspection should look for the following:
- Foreign Material: In most welding processes, slag should be easy to remove from the surface of the weld. If it doesn’t chip away easily, it may indicate an inclusion or contaminant in the weld that needs to be removed. If the weld process is gas tungsten arc welding (GTAW), there could be silicon slag points that float to the surface of the weld. The weld quality specification will define how many and what size these can be. If there is an excessive number or they exceed the size limitation, the weld will need to be reworked. Buffing to remove this slag between passes is normal.
- Weld Distribution: Pipe welding follows a predetermined pattern. A pipe welding visual inspection can quickly determine if that pattern is being performed as specified. The weld should be evenly distributed across both workpieces without distortion, visibly thinner areas, or undue bulging deposition of the material.
- Undercut: When welding filler material isn’t properly fusing, it can fall away from one or both sides of the workpiece and into the weld itself. This creates a distinctive scalloped pattern along the edge of the weld. It can indicate that the heat isn’t high enough or that travel speed is too quick, both issues that can be resolved by adjusting the welding machine settings.
- Lack of Sidewall Fusion: The fill material may fail to bond with the sidewalls of the weld if there isn’t enough heat input, the travel speed is too low, or if the workpiece surface is inadequately cleaned and the material interferes with the bonding of the metals. In the case of poor sidewall fusion, the weld will need to be reworked, the machine settings tested, the material cleaned off thoroughly, and weld prep practices reviewed for subsequent welds.
- Porosity: When contaminants like oxygen and hydrogen are melted into a weld they often bubble up to the surface, leaving distinctive pinholes, sometimes in large groups. This is called porosity and indicates that a whole section of the weld needs to be removed and the work material thoroughly cleaned before welding can continue.
- Cracking: Cracking of a weld occurs when the weld is under stress. Causes may be failure to properly mount a workpiece so it remained still while the weld cooled, misalignment of the two pipes, and other structural stressors. Cracking can also occur when welding two incompatible materials or if the wrong fill material is used. Most often, though, cracking is the result of the metal changing temperature states too quickly. If cracking occurs, piece positioning and machine settings need to be adjusted.
Mitigation of welding flaws found during the welding process varies depending on the type of flaw and the severity. Undercut at the side of welds or poor weld distribution are only grounds for rework if it is severe or taking place in industries or on projects that demand a high degree of precision and structural performance. Usually, remediation is simply a matter of adjusting the welding machine’s setting and making sure that subsequent passes have proper distribution and fusion. Foreign material in the weld, porosity, and cracking mean reworking at least a section of a weld and could require starting over with new materials. This can be a very expensive prospect for some welding projects, and underlines the importance of visual inspections before starting and between passes in order to remedy flaws before they become larger problems.
Visual Inspections After the Weld Process
The visual inspection that takes place immediately after welding is in some ways the least important one. If inspections were done properly before and during pipe welding, there shouldn’t be anything to catch. Inspection of the weld after it is completed acts as a final check to ensure that there is nothing obviously wrong with the weld.
Post-weld visual inspections for different pipe welding types typically include the following:
- Fillet Welds: Measurements of the final bead profile to ensure it is to specification. The legs of the fillet weld on both sides of a perpendicular weld piece must be within specified measures—not too short and not too long. The center or throat of the weld bead should be neither too convex nor too concave.
- Pipe to Pipe Welds: The overall weld bead width and height must be inspected to ensure it is within specifications. The height cannot be too far above the joint, nor should it be concave and sinking into the metal.
A common method of basic visual inspection is to bring a pipe’s interior pressure up to a level above that of the surrounding atmosphere and spray the weldment with soapy water or another medium that will bubble and make escaping air visible. This isn’t ideal because if leaks are detected it introduces a foreign material into the work area that can make rework more complicated. A more professional variant of this test is to introduce dye into the gas pumped into the pipe and look for leaks on the weld surface. Air and other gases are also compressible and it is possible to pressurize a pipe section to the point of explosive failure, so air testing is not recommended if it can be avoided. If pneumatic testing is used, strict standards are followed to prevent explosive failure of the weld or the piping. ASME B31.8 mandates that a pressure release valve be a part of the test loop and that it vent at either the test pressure plus 345 kilopascals (kPA) or at ten percent above the test pressure (whichever is the lower value).
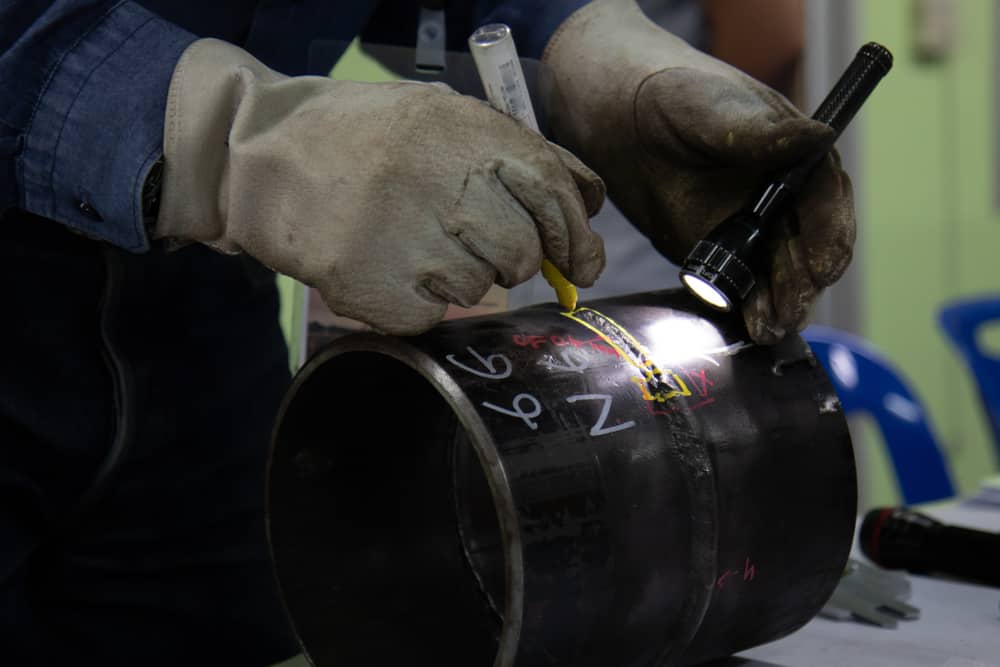
Dye penetrant is used to test for surface indications and involves simply spraying the weld with a penetrating dye, allowing it to soak in, and wiping off the excess. The dye will penetrate into pores that are too small for the naked eye to perceive, and after the excess is wiped, the dye will remain in the pores, making them visible. If pinhole leaks or small cracks are found, the weld section will need to be removed and rewelded and dye penetrant testing repeated.
Visual Inspection and Orbital Pipe Welding
Visual inspection is just as important in orbital welding as in manual methods. Because orbital welding is a highly automated process, it can be more difficult for an operator to adjust weld parameters while the weld is in progress or to sense that something is going wrong. For example, it’s harder to register arc sputtering while watching the weld process remotely, removed from the physical feedback of welding. This makes it especially important that potential sources of variability in the arc are removed before welding begins.
The advantages of orbital pipe welding outweigh the disadvantages; however, gaining the full benefits—like fast completion of welds, machine precision, and replicability across joints—requires a stringent visual inspection before and during welding. A pipe welding visual inspection conducted with attention to detail will offer the most benefit to an orbital welding process and ensure welding productivity beyond what is possible with manual welding.
Arc Machines, Inc. specializes in GTAW orbital welding machines for pipe and tubing and supports customers with training, service, and advice for getting the most from their orbital welding system. For inquiries regarding products, contact sales@arcmachines.com. For service inquiries, contact service@arcmachines.com. Arc Machines welcomes the opportunity to discuss your specific needs. Contact us to arrange a meeting.